Showing posts with label Magnets. Show all posts

Sunday, June 9, 2013

DIY Cute Baby Shower Magnets


A really good friend of ours had a baby shower recently, so we've been busy bees and made a bunch of fun stuff. Pinterest is a gold mine for making simple and cute gifts for a baby shower. Be careful about getting too caught about with all the different tutorials. It's really easy to get lost in the sea of pins and keep on making stuff. 

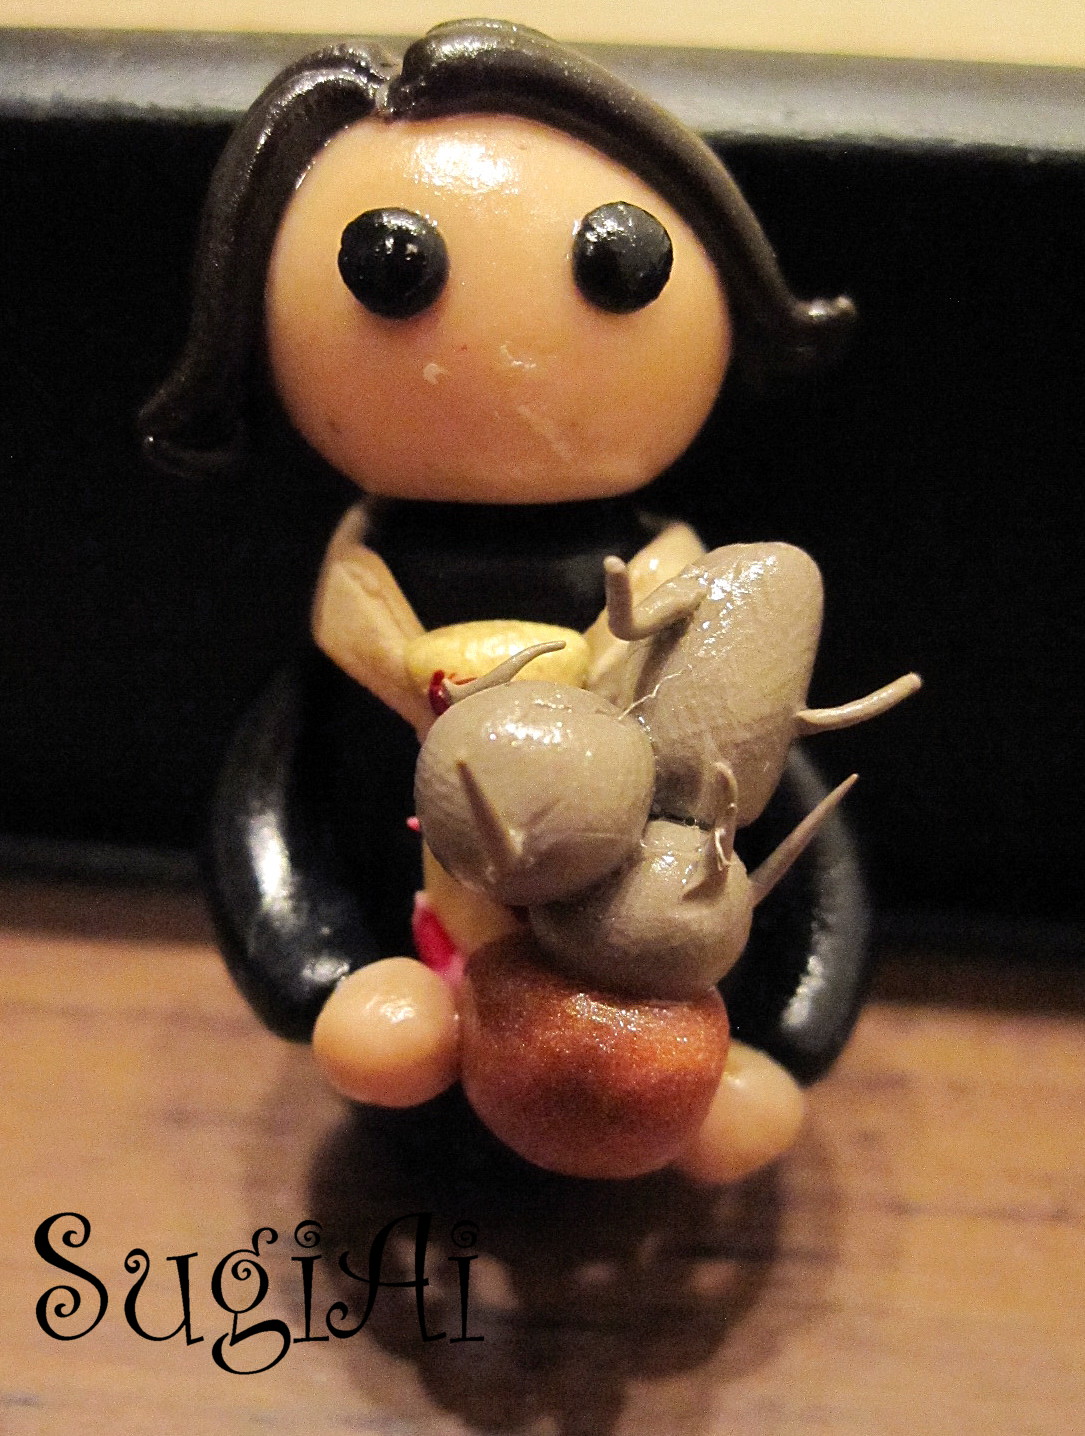
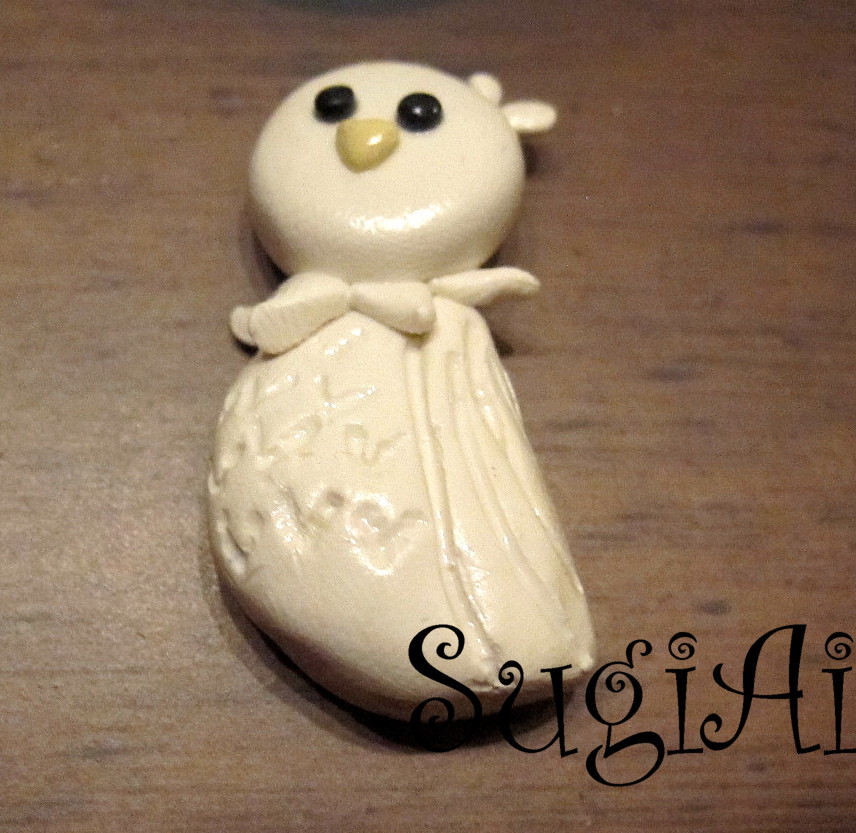
Today's post isn't actually from Pinterest. Ai made these cute magnets for our friend and her husband, so she decided to make a new set for their new addition. Making your own magnets can be easy and fun. You can check out this previous post to find out how to make your own. 

The magnets came out super cute! I think they make a lovely addition to the other magnets.

The baby magnet came out incredibly adorable. 

That's all for this week folks! We made so many different things, that we have to break all the posts up. Also be on the lookout for our video tutorials. We already set up a Youtube account. You can subscribe here. We don't have anything up yet, but we're working on producing quality tutorials. We should have some stuff up within the next month or so. Happy crafting and baking! ♥  

Don't forget to subscribe to SugiAi

Thursday, June 21, 2012

Chalkboard Magnets


A while ago Ai and I thought it would be a good idea to make little chalkboard magnets. We thought they would make really great gifts. They ended up being really cute and easy to make! The only problem we had was trying to find the right sized chalkboards. We wanted these to just be decorative pieces so we needed them to be fairly small. The chalkboards we used were definitely a lucky find. We found them browsing through kitchen stuff at World Market. If any one knows a place  where we can find a greater variety of small chalkboards please let us know! 


We had a bit of trouble coming up with themes for these so they ended up being a little random. The little trinkets on the chalkboards were made out of polymer clay and then attached with epoxy. If you aren't familiar with polymer clay charms check out our tips here. We couldn't figure out a way to connect a piece of chalk to these magnets to make the chalkboards an actual functioning piece, so the words were painted on with white acrylic paint. After everything on the front had set we glued four round magnets on each corner of the back of the chalkboards. You could definitely do this project with a larger chalkboard or even a dry erase board, but I would suggest making sure you have enough magnets to bear the weight! 


Now on to the magnets! 


Ai went with a cute love theme here! I just love those adorable little love birds in the tree! 

Neither one of us is a teacher, but we have a deep appreciation for teachers. Also teacher themed things are always super cute and fun! 

That's all for this week! Hope you all go out and make your own inspired chalkboard magnets! Happy crafting! ♥  

P.S. If you haven't already, go like our facebook page here. It would really mean a lot to us! ^_^ 

Monday, August 22, 2011

Cupcake Charms and Polymer Clay Charm and Magnet Crafting Tips


So today's post is mostly just going to be a showcase of some of the cute clay things we've made. We talked about how we go about making these things last week but we'll go over it again so you can go out and make your own. 

Here's what we use to make magnets
  • Sculpey brand polymer clay
  • Acrylic paints 
  • Pledge with Future Shine for a shiny finish
  • Epoxy glue and round magnets from Michaels 

Here's how we go about making the magnets:

  • We figure out a theme we'd like to do and start sculpting. If you've ever played with play dough or anything similar then you should be able to work with the Sculpey. It's pretty user friendly.
  • After we sculpt, we follow the directions on the box and bake the clay in the oven, let them cool and paint them. Then we take rubbing alcohol and clean off the figurines. It helps the future shine stick better.
  • After cleaning the figurines off we apply a couple layers of the future shine and let them dry a bit before baking them again at 215 degrees for 10 minutes. 
  • After we let the figurines cool off we use the epoxy glue to attach the magnets. Epoxy glue sets pretty fast so you don't have to wait too long before you get to use the magnets.


Here's what we use to make charms:
  • Sculpey brand polymer clay
  • Acrylic paints
  • Eye Pins
  • Split Rings
  • Pledge with Future Shine for a shiny finish

Here's how we go about making the charms:

  • We figure out a theme we'd like to do and start sculpting. If you've ever played with play dough or anything similar then you should be able to work with the Sculpey. It's pretty user friendly. 
  • Then we insert an eye pin in the top of the figure.
  • After we sculpt, we follow the directions on the box and bake the clay in the oven, let them cool and paint them. Then we take rubbing alcohol and clean off the figurines. It helps the future shine stick better.          
  • After cleaning the figurines off we apply a couple layers of the future shine and let them dry a bit before baking them again at 215 degrees for 10 minutes. 
  • After we let the figurines cool off we attach the split rings. Now you can use the charms for jewelry or anything else you want!
Now on to the stuffs!!! 

Cupcake charms for cell phones 

A very royal cupcake! 


Strawberry Cupcake

Cupcake with a cherry on top! 


An adorable bear cupcake! 

Elmer Fudd magnet....shhhh he's hunting wabbits! 

Chopper from One Piece 

So that's all for this week folks! Go out and make some cute things for yourself and remember to be creative and have fun with it! ♥  

Monday, August 15, 2011

Why we'll probably never do cake pops ever again and cowboy themed magnets


This week's post isn't going to be a normal one because we've got another cake pop fiasco story to tell you before we get to the magnets. Before we get into our story here are the things you need to know about us: 
  • We have a bad habit of taking on large projects and insisting on doing them all on our own.
  • We can never do anything simple; we just always have to make everything so fancy, special, and as original as possible.
  • We are stubborn and determined and will keep on going until we finish or die trying. 
So our story begins with us thinking we could make 150 western themed cake pops for a wedding party. Like always, we thought that it wouldn't be too much of a problem. And like always, we were definitely wrong. We started out strong since we had (at the time) a solid game plan. We decided we were gonna do three different designs: cowboy hats, cacti, and boots. 

To make a long story short, things did not go at all how we planned. We had to scrap the cacti because their arms kept falling off and ended up turning them into balls. After that, things just started going downhill, we had mishap after mishap until the very end. The only thing that seemed to go well was the chocolate. We didn't have any problems with it since we had corrected our mistakes from the first time we made cake pops. By the end of the night, we were a complete mess:

We really did say all this stuff. We had more gems but honestly this whole ordeal is just a blur now. At one point we considered turning on a camera a just letting it run so we could watch ourselves over and over again and just laugh. 

After all our melodrama we did finish and from what we've heard the people at the party enjoyed them. So we learned a valuable lesson from this, we are never ever ever ever going to try and do this many cake pops again. Also the moral of our story is to not bite off more than you can chew and that Ai and I are big dummies who love getting ourselves into ridiculous situations and have no one to blame but ourselves. 

Here's the only picture we took. It's the cowboy hats and I guess they don't look all that bad. >_< 

Alright now that that all is out of the way let's get on to the magnets. Ai did these ones by herself. They were for a friend of hers and they fit in with the cowboy theme of this post. Since we've never really discussed the materials we use for making our magnets here's what we typically use:
  • Sculpey brand polymer clay
  • Acrylic paints 
  • Pledge with Future Shine for a shiny finish
  • Epoxy glue and round magnets from Michaels 
Here's how we go about making the magnets:
  • We figure out a theme we'd like to do and start sculpting. If you've ever played with play dough or anything similar then you should be able to work with the Sculpey. It's pretty user friendly. 
  • After we sculpt, we follow the directions on the box and bake the clay in the oven, let them cool and paint them. 
  • Then we take rubbing alcohol and clean off the figurines. It helps the future shine stick better. 
  • After cleaning the figurines off we apply a couple layers of the future shine and let them dry a bit before baking them again at 215 degrees for 10 minutes. 
  • After we let the figurines cool off we use the epoxy glue to attach the magnets. Epoxy glue sets pretty fast so you don't have to wait too long before you get to use the magnets.
Cowboy themed magnets with a clover and pot of gold thrown in there because Ai's friend is Irish.
Tractor and Cowboy Cactus 

Her adorable dog

A pot of gold at the end of the rainbow and a clover

Ai's friend and her husband


Horses! 

So that's all for now folks! Go out and make your own magnets, it's a lot of fun, but do not go out and make overly complicated cake pops! ♥  

Saturday, July 16, 2011

HARRY POTTER! HARRY POTTER! HARRY POTTER!!!!!


So according to the title this post is going to be all about HARRY POTTER!!!!! Here's a fun fact for all of you: Ai and I are super nerds about a lot of different things and Harry Potter is naturally one of those things we love! In honor of the final movie we made some Harry Potter themed things. We had a lot of fun with these projects and couldn't wait to post this up. So enough of my rambling and on to the stuffs! 


Ai's mom is also a fan of Harry Potter so we made her some magnets! 


Our gang of HP magnets. I did the top row and broom and Ai did the bottom row and the Sorting Hat!

Ai did the golden trio and twins

I did Dumbledore, Hagrid, Ginny, Luna, and Neville

I wanted to make Dobby look really nice because he's Ai's mom's favorite! 

The twins! 

Neville ended up looking like a young Snape! lol

Ron! 

Harry!

Hermione!

Luna! 

Ginny! (my scarf is not as nice as Ai's! lol >_<)

Everyone's favorite groundskeeper! 

R.I.P. Dumbledore! :( 

Ai made Hedwig! 

Ai's amazing Sorting Hat! 

Ai's super adorable Pigwidgeon! 

I really love making decorated shortbread cookies so I decided it would be awesome to make HP ones. I taught Ai and our friend Thao how to decorate cookies so the cookies were a collaborative effort. I didn't have HP shaped cookie cutters, so most of these cookies are cut by hand. And if you've never cut cookies by hand, it is time consuming (though it was definitely worth it because we love Harry Potter)! Now on to the cookies! 

All the cookies we made! 

Some random HP related items

Harry's glasses

A wand casting a spell


Hedwig

A random owl with a wizard's hat, maybe it's an animagus! lol


The Hogwarts Crest. I had the most fun doing this one! 

The Crest of SugiAi! lol I like elephants and she likes pigs! 

The people! Poor Hermione got fat in the oven, she looks like she should be Hagrid! hahahaha

Voldemort


Harry and his broom flying off to a new adventure! 

I know that this was already a super long post, but because I am a sentimental fool I just want to say this: Thank you J.K. Rowling for creating these wonderful characters and beautiful world! Harry Potter and his grand adventure will live on forever in all of our hearts! 

That's all for now folks! Go watch the final HP movie and enjoy it, it was really great! 

Oh yeah one more thing, we joined the cool kids and are on Google+ our profile! We're not quite sure what we'll do with it, but it does have some more personal info about us on it, since we've been pretty vague here on the blog. So if you're already on Google+ don't hesitate to add us! ^_^